DIY Plumbing - A Guide for Beginners
Plumbing. The word itself can evoke images of gushing water, overflowing toilets, and hefty repair bills. While some plumbing jobs are best left to the professionals, there are many simple tasks you can tackle yourself, saving money and gaining a valuable skill in the process. This guide is designed to empower beginners with the knowledge and confidence to handle basic DIY plumbing projects.
Before You Begin: Safety First!
Safety is paramount when dealing with plumbing. Before you even touch a wrench, follow these essential precautions:
- Turn off the water supply: This is the most crucial step. Locate the main water shut-off valve for your house (usually near the water meter) and turn it off. For specific fixtures, use the local shut-off valves (often found under sinks and behind toilets).
- Release water pressure: After turning off the water, open the faucet at the lowest point in your house to drain any remaining water in the pipes. This prevents messy surprises and potential damage.
- Wear appropriate gear: Protect your eyes with safety glasses, especially when working overhead. Gloves are also a good idea to protect your hands.
- Work in good lighting: You need to see what you’re doing clearly. Use a flashlight or work lamp if necessary.
- Know your limits: If a job seems too complex or you’re unsure, don’t hesitate to call a professional plumber. It’s better to be safe than sorry.
Essential Tools for the DIY Plumber
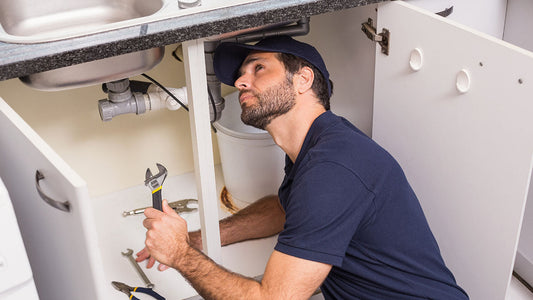
Having the right tools is half the battle. Here are some essential tools to get you started:
- Adjustable wrench: This versatile tool is a must-have for tightening and loosening nuts and bolts of various sizes.
- Pipe wrench: Designed for gripping and turning pipes, a pipe wrench is essential for plumbing repairs.
- Plunger: A good plunger is your first line of defense against clogged drains. A flange plunger is more effective for toilets.
- Drain snake: For more stubborn clogs, a drain snake can reach further into the pipes to break up blockages.
- Plumber's tape (Teflon tape): Used to create a watertight seal on threaded pipe connections.
- Basin wrench: This specialized wrench is designed for reaching tight spaces under sinks and faucets.
- Hacksaw: Useful for cutting pipes and other materials.
- Measuring tape: Essential for accurate measurements.
Common DIY Plumbing Projects
Now that you’re equipped with the basics, let’s explore some common DIY plumbing projects you can tackle:
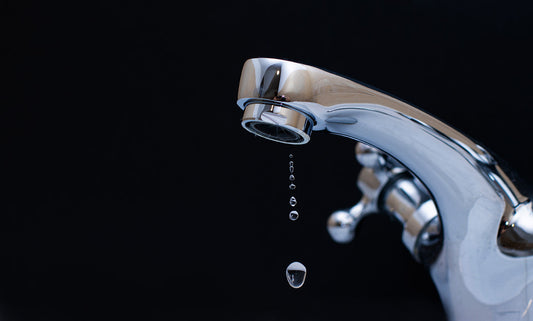
- Fixing a leaky faucet: Leaky faucets are a common nuisance. Often, the problem is a worn-out washer. After turning off the water supply, disassemble the faucet, replace the washer, and reassemble. There are many different faucet types, so consult your faucet’s instructions or online tutorials for specific guidance.
- Unclogging a drain: For minor clogs, a plunger is usually sufficient. For more stubborn clogs, use a drain snake. Avoid using harsh chemical drain cleaners, as they can damage your pipes and are harmful to the environment.
- Replacing a showerhead: This is a relatively simple project. Unscrew the old showerhead, apply plumber's tape to the new showerhead’s threads, and screw it on.
- Fixing a running toilet: A running toilet often indicates a problem with the flapper or fill valve. These parts are readily available at hardware stores and are relatively easy to replace. Consult online tutorials for specific instructions for your toilet model.
- Installing a new toilet: While this may seem daunting, installing a toilet is a manageable DIY project with careful planning and the right tools. Be sure to follow the instructions that come with your new toilet.
- Replacing supply lines: Supply lines connect your faucets and toilet to the main water supply. Replacing them is a relatively straightforward task, but it’s crucial to use the correct type of supply line and ensure a tight seal to prevent leaks.
Tips for Success
- Do your research: Before starting any plumbing project, research the specific steps involved. Watch videos, read articles, and consult diagrams.
- Take your time: Don’t rush. Plumbing requires patience and attention to detail.
- Double-check your work: After completing a repair, turn the water back on slowly and check for leaks.
- Keep spare parts on hand: Having extra washers, O-rings, and other small parts can save you a trip to the hardware store in the middle of a project.
- Don’t be afraid to ask for help: If you’re unsure about something, don’t hesitate to ask a friend, family member, or even a professional plumber for advice.
When to Call a Professional
While DIY plumbing can be rewarding, there are certain situations where it’s best to call a professional plumber:
- Major leaks: Leaks that are causing significant water damage should be addressed by a professional immediately.
- Sewer line issues: Problems with the main sewer line are complex and require specialized equipment.
- Gas line repairs: Never attempt to repair gas lines yourself. This is a dangerous job that should only be handled by a licensed professional.
- Complex plumbing installations: Installing new plumbing fixtures or relocating plumbing lines requires expertise and permits.
- If you’re unsure: If you’re not comfortable with a particular plumbing task, it’s always best to call a professional.
Conclusion
With a little knowledge and the right tools, you can tackle many basic plumbing projects yourself. By following the safety precautions, doing your research, and taking your time, you can save money, gain valuable skills, and become a more self-sufficient homeowner. Remember, however, that knowing your limits is crucial. Don’t hesitate to call a professional when needed. Happy plumbing!


